• 3D modeling your own Robot Chassis (Intro to Parametric Design)
• Printing the Robot Chassis
• Assembling the Robot Chassis and Hardware
Chapter 7: Adding Complexity to the Robot: Working with LCDs
• Monochrome LCD projects will stay the same
• Add a section on OLED technology
• Make an OLED Shield for the Arduino using Eagle
Chapter 8: Robot Integration Engineering a GPS Module with Arduino
• Hardware Explained: microSD shield
• Understanding NMEA Protocol
• Libraries Explained: TinyGPS and SdFat Libraries
• The Basics of GPS Communication with the Arduino
• Requirements Gathering and Creating the Requirements Document
Chapter 9: Interlude: Home Engineering from Requirements to Implementation
• Basic Fundamentals of this chapter will stay the same
• Gather Requirements on a sensor station
• Create a Sensor Station Shield in Eagle
• Writing software for the Sensor Station Shield
• Creating an enclosure for the Sensor Station Shield
• 3D Printing the Sensor Station Enclosure
Chapter 10: Robot Perception: Object Detection with the Arduino
• Secondary Projects stay the same, but Images, Schematics, and Flowcharts are updated
• 3D modeling an Ultrasonic sensor holder for the Robot
• 3D Printing the Ultrasonic Sensor holder
• The rest of the primary project stays the same.
Chapter 11: Mature Arduino Engineering: Making an Alarm System using the Arduino
• Basic Security System
• Requirements Gathering and Creating the Requirements Document
Chapter 12: Error Messages and Commands: Using GSM Technology with your Arduino
• Talk on subjects like CDMA, 4G LTE, etc...
• Use New Shield for 4G LTE instead of GSM Shield
• Rest of chapter will stay the same
Chapter 13: Control and Instrumentation: The XBOX controller and the LabVIEW Process
• LabVIEW explanation stays the same
• Creating a Sub-autonomous robot
Chapter 14: Controlling your Project: Bluetooth Arduino
• Gathering Requirements and Creating the Requirements Document
• Configuring the Hardware
• Writing the Software
• Uploading the Software and Attaching the Bluetooth Shield
• Operating the Robot
Since Harold Timmis was a small child, has fostered a curiosity for technology, taking apart everything in his parents’ house just to see how it all worked. This fueled his thirst for knowledge of computer science, programming, and its uses. He has worked with LabVIEW and Arduino for the past thirteen years. During that time, he has been involved in several professional projects using LabVIEW, as well as many hobbyist projects utilizing both Arduino and LabVIEW. Harold attended the Florida Institute of Technology, where he studied computer engineering and was introduced to LabVIEW and Arduino. Later, he worked at the Harris Corporation and General Electric, where he created several LabVIEW projects for trains and became very interested in the Arduino, data acquisition, and control theory.
Implement Arduino-based designs in your project, and build, debug, and extend it using a solid engineering approach. This second edition is expanded to provide a better understanding of the engineering process and what it means to be an end-to-end developer.
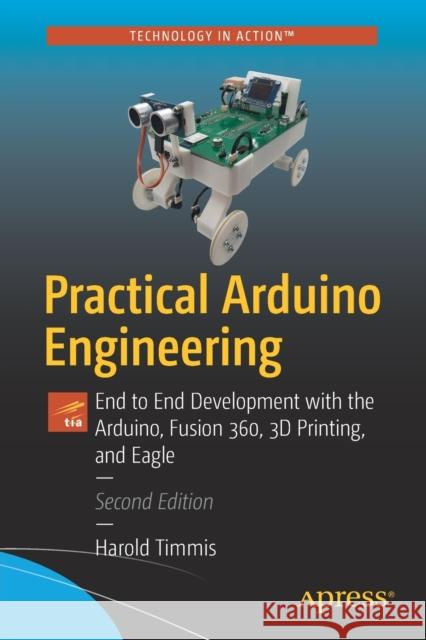
You’ll start out by reviewing basic engineering procedures, from the fundamental requirements and preliminary design to prototyping and testing. You’ll then apply those principles to single devices like LCDs, potentiometers and GPS modules, and move on to the integration of several modules into a larger project, a sub-autonomous robot. This robot will include devices such as GPS, Bluetooth, an OLED screen, an accelerometer, humidity and temp sensor, motor drivers, and ultrasonic sensor.
This version goes on to cover how to create 3D models with Fusion360, make your own PCBs using Eagle, and use and maintain a 3D printer. Each and every chapter exemplifies this process and demonstrates how you can profit from the implementation of solid engineering principles—regardless of whether you just play in your basement or you want to publicize and sell your devices. With Practical Adruino Engineering you’ll be able to review and improve this process, and even extend its scope.
You will:
● Set up the Arduino software landscape and project for testing
● Review the process of hardware engineering as applicable to Arduino projects
● Create 3D models for 3D printing using Fusion360 in a robot chassis project
● Make PCBs using Eagle and incorporate it into a sensor station shield project
● Use and maintain a 3D printer with your own project
● Create Arduino shields in Eagle
● Debug Arduino projects of varying complexities via LabVIEW
● Use a special Arduino board for Bluetooth LE to control domestic and mobile Arduino projects